IronWorker CaaS Worker: Heroku Dyno Setup
In this article, we will tell you the steps you need to set up Heroku Dyno for IronWorker.
Setup Outline:
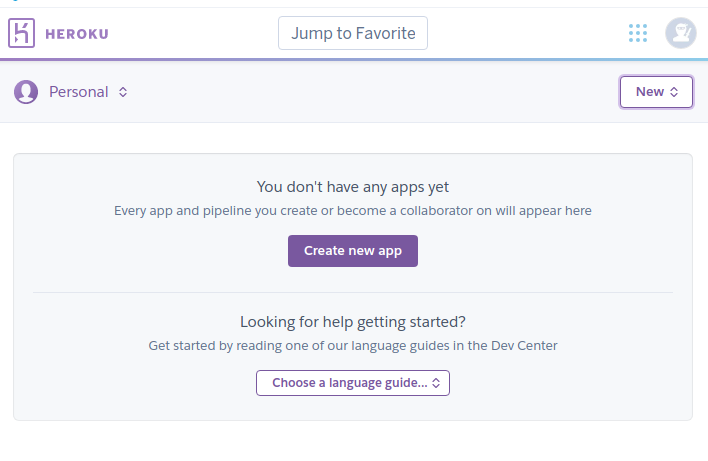
- Create a Heroku App
- Install Heroku CLI
- Deploy Your App
- Costs
- Notes
- Security
- Pros & Cons
2. Install Heroku CLI
One of the best things Heroku provides is Documentation. Check how to install the Heroku CLI in few steps here: https://devcenter.heroku.com/articles/heroku-command-line

The install steps generally are
- Install Heroku app based on your OS
- On the terminal run the login command $ heroku login it will redirect you to the browser page for authentication.
- Or run $ heroku login -i to enter credentials on terminal
3. Deploy your app
Create a new local directory and run $ init git, or add Heroku app to an existing git tracked directory.
Run $Heroky create to create a new Heroku App ( a random name will be given)
Or specify your existing app name to add Heroku app to the directory
$ heroku git:clone -a xe-alert-node
Commit your local changes $ git add. & $ git commit -m “Commit Message” then run $ git push heroku [BRANCH_NAME] Your application will be deployed to Heroku Dyno now as a web dyno.
To access your app run $heroku open it will open a new browser window with your app public subdomain.

To view the console log run $ heroku logs --tail
In order to add your .env variables to the Heroku Dyno Enviroment run $
heroku config:set $(cat .env | sed '/^$/d; /#[[:print:]]*$/d')
Raed more on Heroku dyno environment variables here:

4. Limits
Heroku Dyno Limits:
Max Memory : 512Mb - 14GB based on Dyno size Concurrent dynos: 1, 5, 50
Max Web Dyno Timeout: 60 sec
More details on limits: https://devcenter.heroku.com/articles/limits
5. Costs
Heroku Dyno costs start from $0 for the free tier to $500 per month in six different flavours.
Full features and prices here: https://www.heroku.com/dynos

6. Notes
Easy to setup, powerful documentation, big community, super fast on deploying and running.
7. Security
Heroku Dyno is compliant with PCI DSS Level 1, ISO 27001/27017/27018, SOC 1/2/3 , and HIPAA.
https://www.heroku.com/compliance
8. Pros & Cons
Dyno is a lightweight CaaS service that allows rapid deployment of applications and containers. It’s mainly designed for application deployment and supports running as a worker.
Compared to IronWorker task scheduling not supported, offers dedicated clusters for performance-m & performance-l dyno types only. Concurrency limits are the lowest among other competitors.

