
Powerful Email Infrastructure with IronWorker, ActionMailer, and SendGrid
Against most predictions, email has stood the test of time and remains one of the most common and effective forms of communication. This is particularly true in the world of web applications where the flow of information from app to user is constant.
Ruby on Rails is one of the leading stack choices for building web applications, and ActionMailer is the goto MVC method that allows the app to interact with an SMTP server to deliver email. ActionMailer combined with a great SMTP delivery service like SendGrid, lets developers quickly and easily deliver email from inside their apps.
ActionMailer, IronWorker, and SendGrid can now be used together to build a very powerful and scalable email platform. IronWorker adds parallelization of delivery to greatly reduce the time it takes to deliver your email as well as scheduling capability to SendGrid.
This tutorial describes how to use your ActionMailer templates along with IronWorker and SendGrid to build a powerful, scalable email infrastructure.
Step 1: The Basics
- Sign up for free accounts at Iron.io and SendGrid.
- Create your first project. This is your workspace and can be used for all Iron.io services. We’ll be using IronWorker.
- Install our iron_worker_ng gem (gem install iron_worker_ng).
Step 2: Rails Project
You can skip this step if you’ve already gotten your Rails application created as well as ActionMailer models and views.

- Create your Rails project (# rails new my_rails_app).
- Create the ActionMailer model (app/models/mailer.rb) and replace the default “from” with an email from your own domain.
- Create the ActionMailer view (app/views/mailer/hello_world.html.erb).
- Create your ActionMailer layout template (app/views/layouts/email.html.erb).
Step 3: Setting up IronWorker
Create a /workers directory under your apps root directory (eg. <rails_root>/workers)

Now let’s get your token and project id. The project ID can be found in the project list, and your token can be found by clicking your name in the top right corner and then “My Tokens”.
Take your token and project_id and put them into a JSON file named .iron.json (or iron.json, no dot) in the workers directory. Either one will work. (eg. workers/.iron.json). You can also put this file in your users root directory for global settings.
Next, let’s create our settings file with SendGrid credentials and save that into our Rails config directory (config/settings.yml):
Step 4: Writing our Worker
This is the core of our IronWorker integration.
First we need a .worker file that declares our runtime language, dependencies, and other files to merge into our code package. You can use the code below directly. (workers/iron_mailer.worker)
And next, let’s create our Ruby worker and replace the email address with yours (workers/iron_mailer.rb)
Step 5: Uploading and Running our Worker
We’re now ready to run our worker. It’s super easy to use our new command line tool.
Let’s upload our worker with the following command (make sure you’re doing it from the /workers dir). This will package and upload our worker to the Iron.io platform.
# iron_worker upload iron_mailer

And now, queueing up our worker: # iron_worker queue IronMailer –print-id
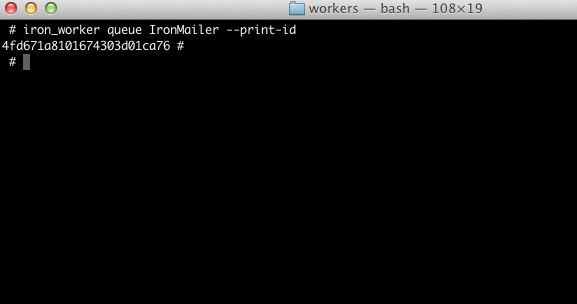
Huzzaaaah! Now head back to the HUD to see your worker running, or better yet, completed!

Troubleshooting and Getting Help
To learn more, visit our dev center.
For live support, jump into our public chat room where engineers are standing by.
For email support, shoot us an email at support[at]iron.io.
To signup now, visit our signup page.